Release 22.0 Notes 22 May 2020#
Summary#
In this release and various minor releases that have been deployed since release 21.0, we’ve added new features and improvements that let you do the following:
Mass update the status of products whose records are stored on different systems.
Delete custom data added through the custom data entry screens
New Features#
Mass Update Product Status through QA Module#
The Quality Assurance (QA) module lets you mass update the status of your products across different systems, send notifications for updates, and consult the module’s change history.
The module lets you configure a list of global statuses, which are the statuses used in your organization’s inventory, and assign them to the corresponding Enterprise Resource Planning (ERP) statuses to act as a label when visualizing your data in the QA module. The global statuses are then mapped to group statuses, which refer to the labels used by your third-party logistics systems.

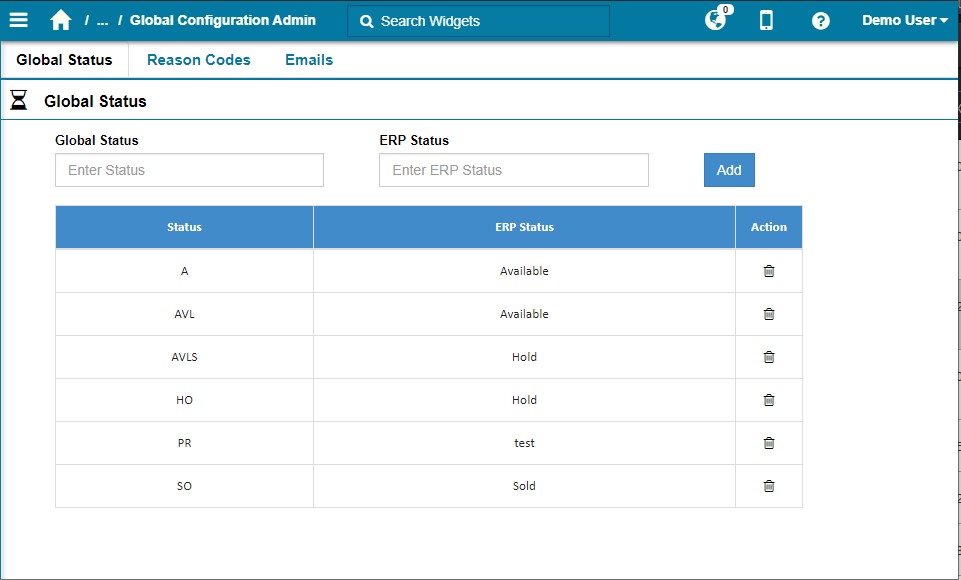
Setup Procedure 1 of 5: Configure Global Status#
Global statuses are labels used within your organization to refer to the state of a product. When creating your global status list in the Quality Assurance module, you can specify the Enterprise Resource Planning (ERP) label to display instead of the global status.
Note
 You can use the same ERP status for multiple global statuses.
Prerequisites:
You must be an administrator in Rebus.
You must have access to the QA submenu and its screens.
Steps:
Go to Administration > Quality Assurance > Global Configuration Admin > Global Status tab.
In the Global Status field, add the name of a status used by your organization.
In the ERP Status field, add the term used for that status in your ERP.
Click on ‘Add’.
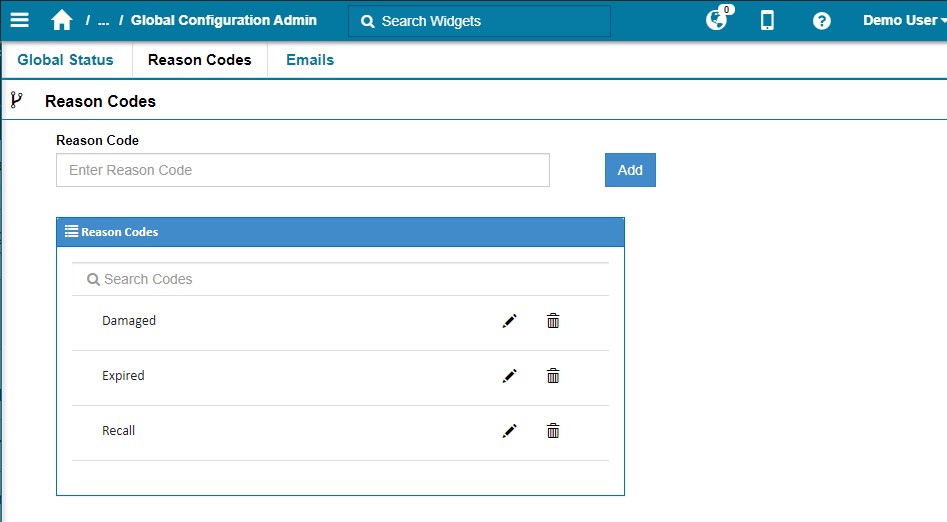
Setup Procedure 2 of 5: Configure Reason Codes#
The Reason Codes section lets you set up reason codes that have to be entered when a user changes an item’s status. Each code represents a reason justifying the change.
Steps:
Go to Administration > Quality Assurance > Global Configuration Admin > Reason Codes tab.
In the Reason Code field, enter a Reason Code.
Click on ‘Add’.
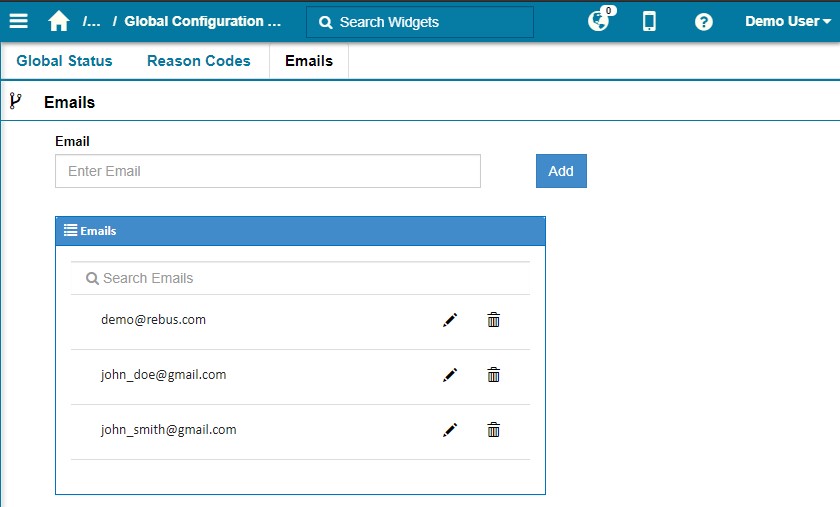
Setup Procedure 3 of 5: Configure Emails Alerts for Global Status#
You can configure the Quality Assurance module to send emails every time a status is updated.
Steps:
Go to Administration > Quality Assurance > Global Configuration Admin > Emails tab.
Enter the email of the person that should receive a notification. The email should be the same as the one used to access Rebus.
Click on ‘Add’.
Setup Procedure 4 of 5: Status Mapping#
This procedure goes over how to map a global status to a group status to be able to update and search through data coming from different systems. Each system used by your organization should be configured in a different group.
Steps:
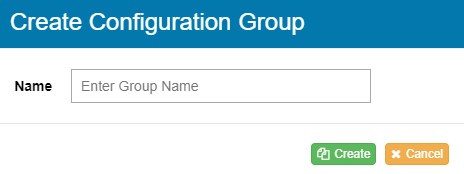
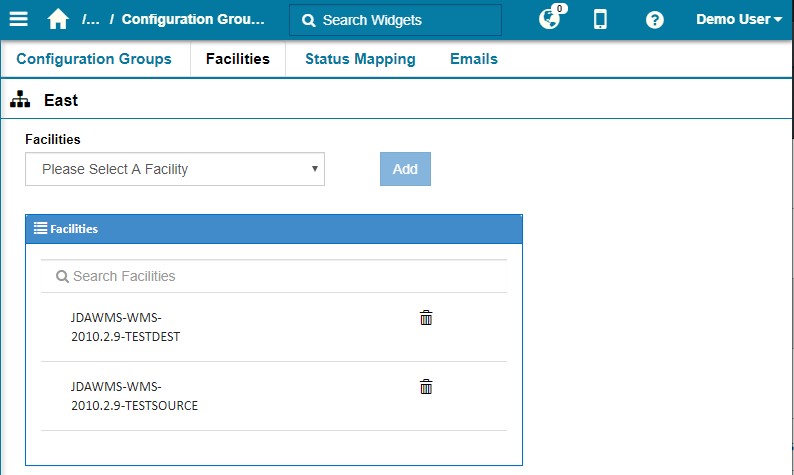
Go to Administration > Quality Assurance > Configuration Group Admin.
Click ‘New’, add a name for the group that you’re creating and click ‘Create’.
In the Facilities tab, select the facilities that you want to add to that group through the drop-down menu. A facility can be in only one group at a time.
Click ‘Add’.
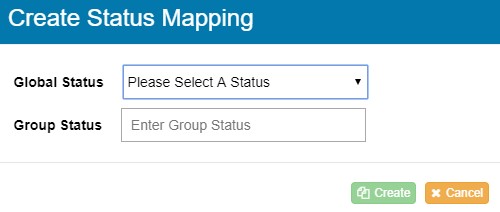
Select the ‘Status Mapping’ tab and click ‘New’.
Through the Global Status drop-down, select the global status for which you want to create a mapping.
In the Group Status field, write the name used in the given system for the global status.
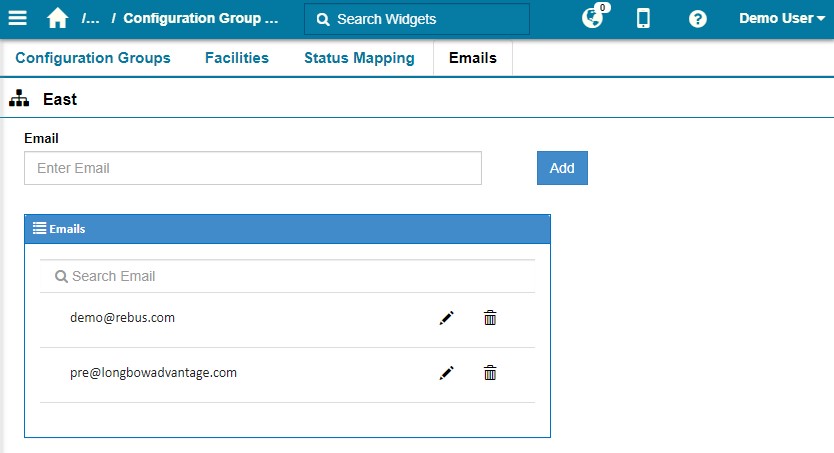
Setup Procedure 5 of 5: Configure Email Alerts for Specific Groups#
You can configure email alerts so that users get a notification when the status of an item in a certain group is updated.
Go to Administration > Quality Assurance > Configuration Group Admin.
Select the group for which you want to add an alert.
Select the ‘Emails’ tab.
Enter the email of the user that should receive an alert.
Click ‘Add’.
Quality Assurance Module - Updating Status#
The Quality Assurance module lets you mass update the statuses of your products across all the systems used by your organization.
Prerequisite:
Have an already configured Quality Assurance module.
Have access to the Product Status Update screen.
Steps:
Go to Administration > Quality Assurance > Product Status Update.
Through the Filters drop down menu, select the filters that you want to use to select your data and populate it with a condition.
Click ‘Search’. The selected data appears in the rightmost window.
Select the data that you want to update by clicking on the checkbox. To select all the fields, click on the checkbox in the menu heading.
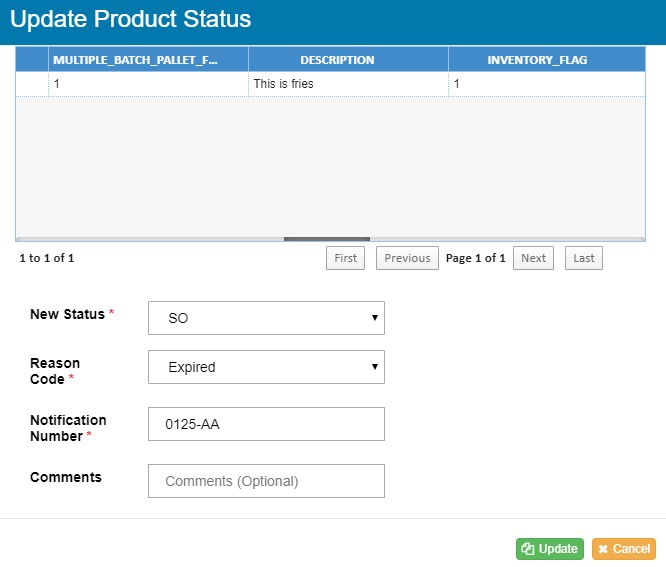
Click ‘Update’. The ‘Update Product Status’ screen appears.
Through the ‘New Status’ dropdown, select the new status for the selected product.
Through the ‘Reason Code’ dropdown, select the reason for the status change.
Enter the Notification Number in the designated field.
Click ‘Update’.
Note
If you did not configure all your facilities in a group, an error message will appear. The items from the facility that is not configured will be highlighted in red and won’t be updated.
Result:
The status of the selected product will be changed to the status chosen in the ‘New status’ field. A notification email will be sent to all the people for whom email notification was configured.
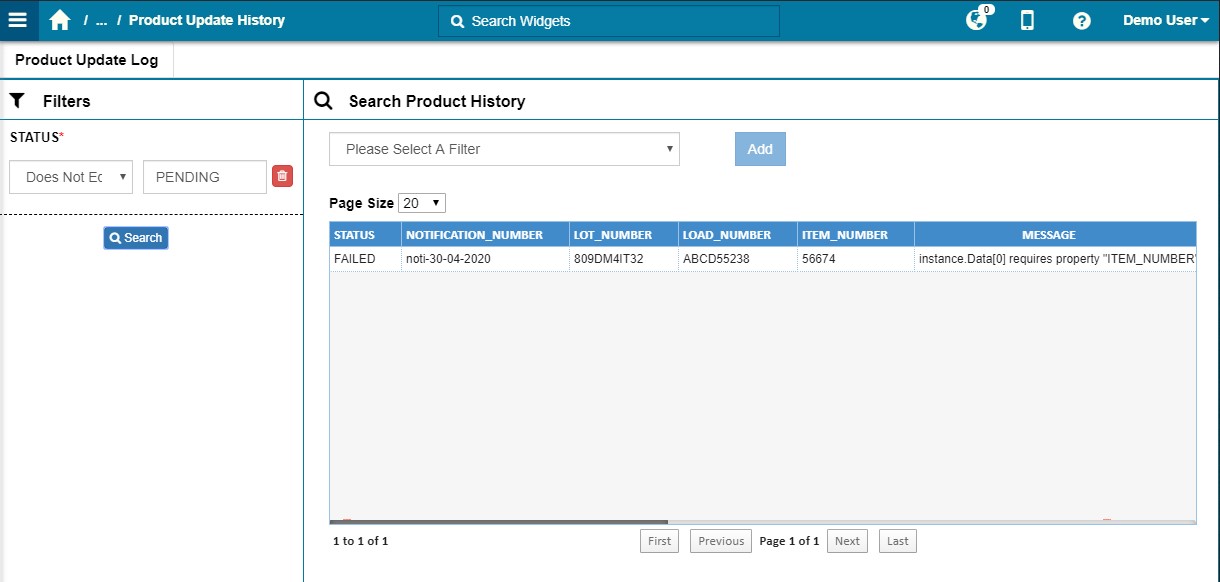
Viewing Status Update History in the Quality Assurance Module#
You can view the status update history for any of your organization’s item. When a status change is complete, the ‘Status’ column will display ‘Success’.
Prerequisite:
Have an already configured Quality Assurance module.
Have access to the Product Update History screen.
Steps:
Go to Administration > Quality Assurance > Product Update History.
Through the filters drop down menu, select the filters that you want to use to select your data and populate them with a condition.
Click ‘Search’. The selected data appears in the rightmost window.
Editing and Deleting the Quality Assurance Module#
Deleting A Global Status#
You can edit or delete a global status in the Quality Assurance module.
Go to Administration > Quality Assurance > ‘Global Status’ tab.
Click on the status that you want to remove or edit.
To remove the status, click on the garbage icon under the action column and confirm that you want to delete the status.
Editing or Deleting a Reason Code#
You can edit or delete a reason code in the Quality Assurance module.
Go to Administration > Quality Assurance > ‘Reason Code’ tab.
Click on the Reason Code that you want to remove or edit.
To remove the code, click on the garbage icon next to it and confirm that you want to delete it.
To edit a reason code, click on the pencil icon next to it, make the desired changes and click ‘Save’.
Editing or Deleting an Alert#
You can edit or delete an email alert setting in the Quality Assurance Module.
From the global configuration setting:
Go to Administration > Quality Assurance > ‘Emails’ tab.
Click on the email that you want to remove or edit.
To remove the email, click on the garbage icon next to it and confirm that you want to delete it.
To edit an email, click on the pencil icon next to it, make the desired changes and click ‘Save’.
Editing or Deleting a Status Mapping#
You can edit or delete a status mapping in the Quality Assurance Module.
Go to Administration > Quality Assurance > Configuration Group Admin.
In the ‘Existing Groups’ panel, select the group for which you want to edit a mapping.
Go to the ‘Status Mapping’ Tab.
Click on the Global Status that you want to edit.
Through the ‘Groups Status’ drop down menu, select the group status that you want to map to the global status for that group.
Click on ‘Update’.
Improvements#
Custom Data Entry - Mass Delete#
In the Custom Data Entry screen, you can now delete multiple rows at once by pressing ‘Shift’ on your keyboard before selecting the rows that you want to delete. Previously, rows could only be deleted one at a time.