Editing Warehouse Maps#
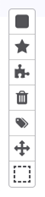
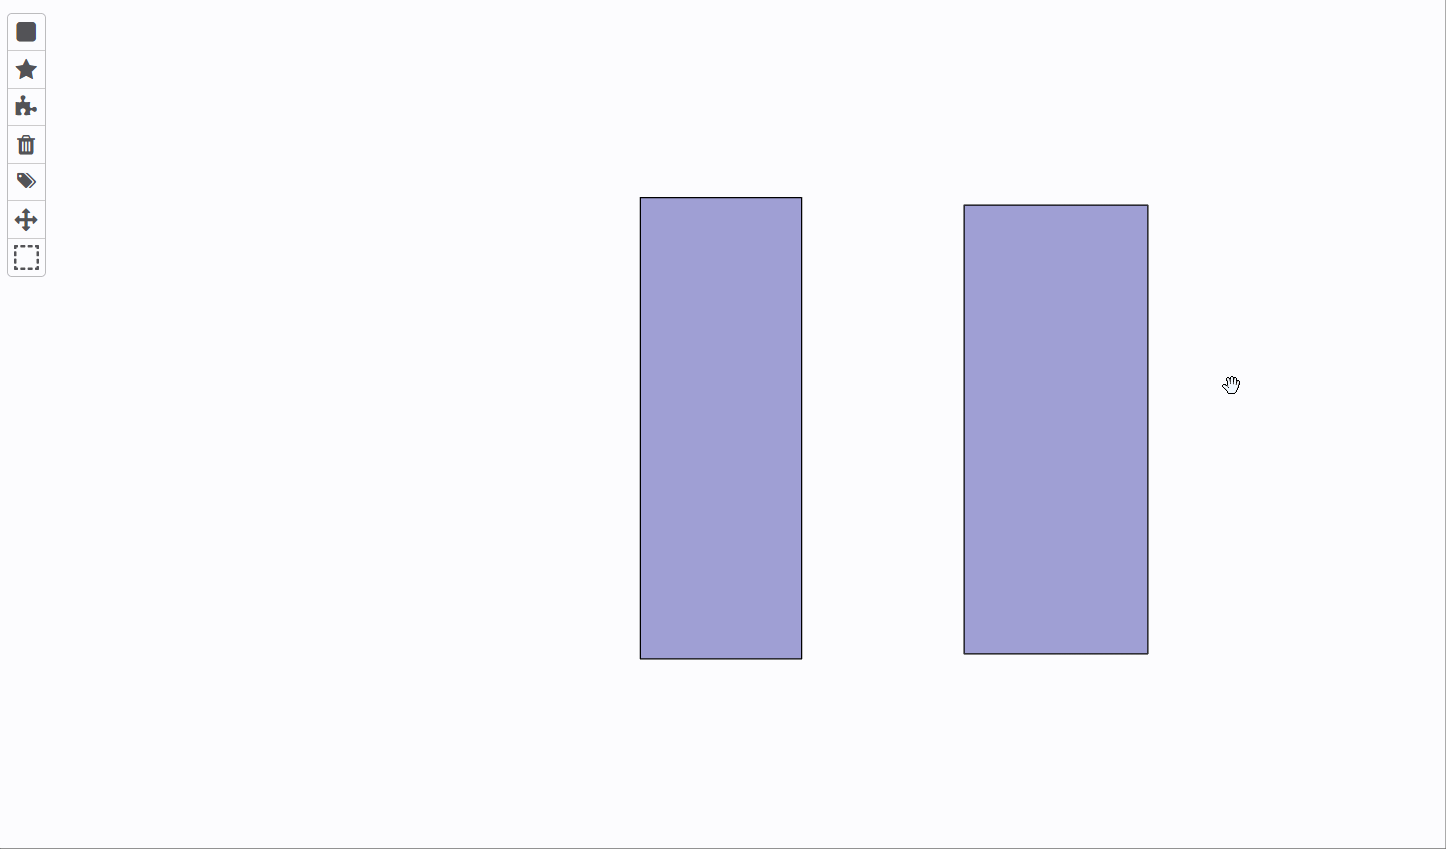
Map Editor Tools#
Refer to the image below to explore what you can do in the Map Editor to design the warehouse map.
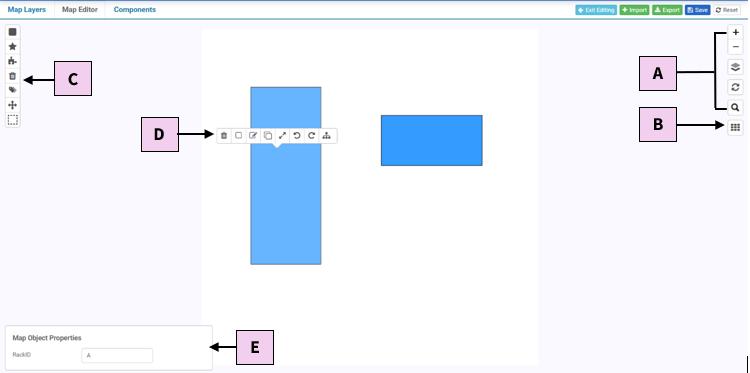
B. Map Grid Size and Snap Tools
E. Map Object Properties Panel
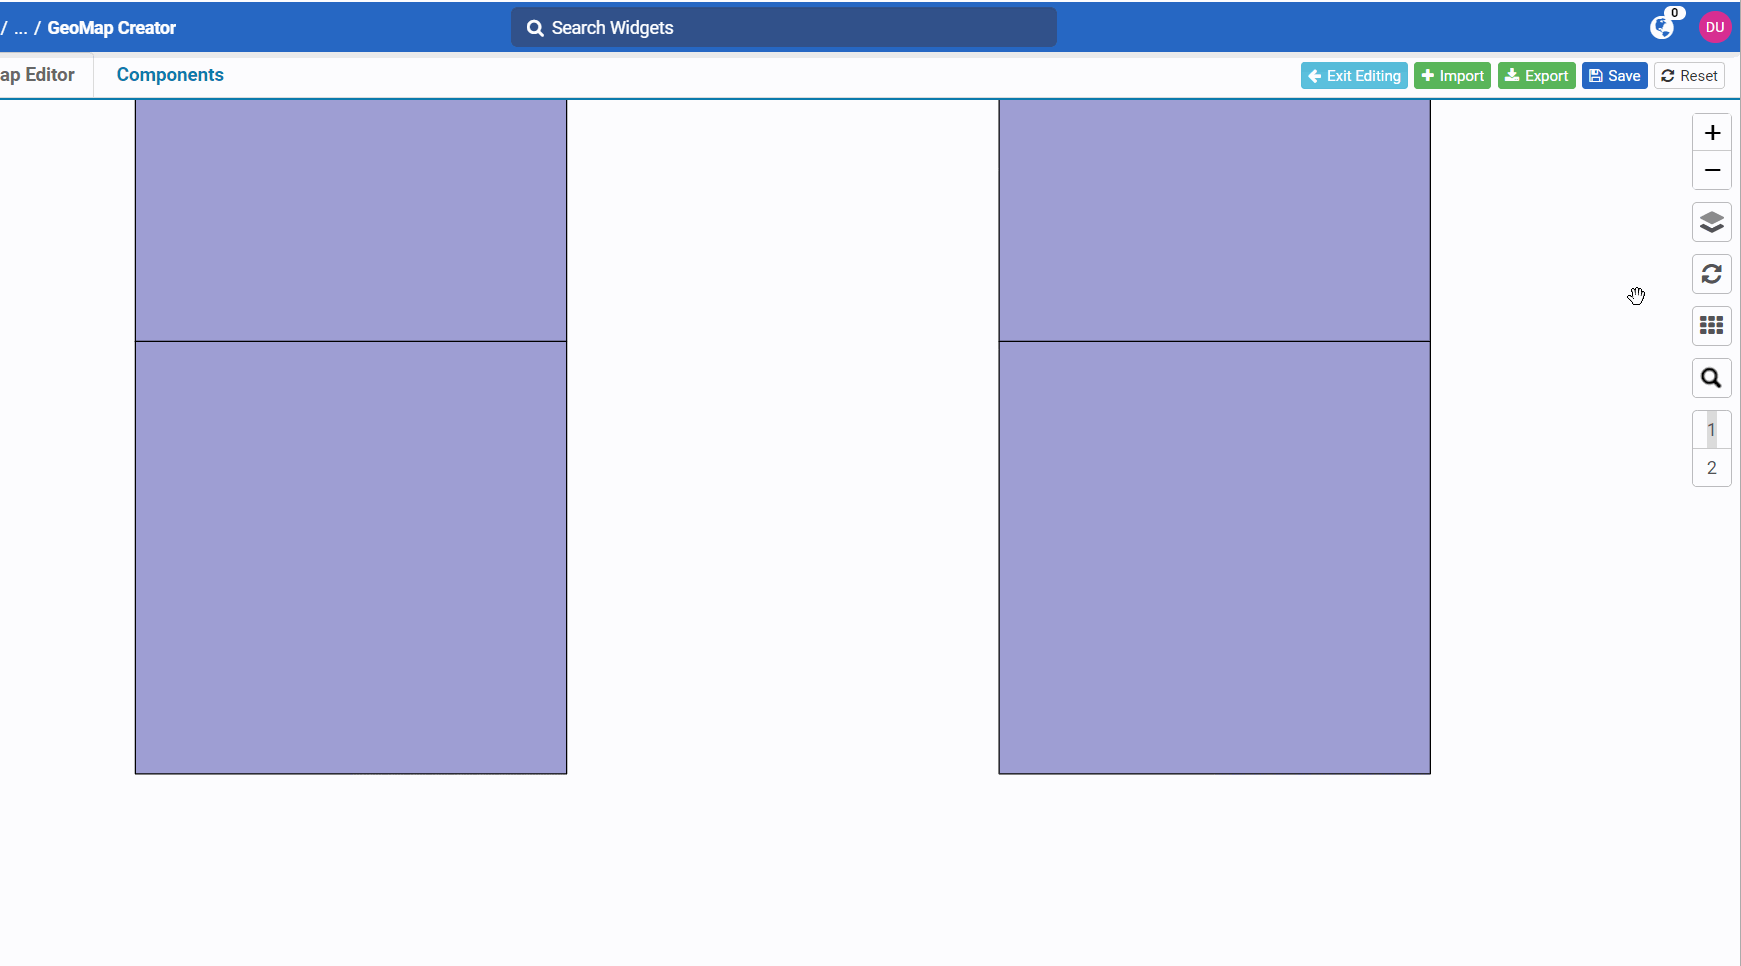
Map Interaction Tools#
On the right-hand side of the map, the map interaction toolbar presents different actions.
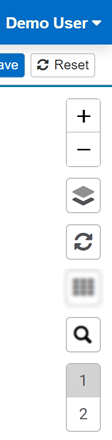
With these tools, you can do the following actions:
Zoom in and out of the map
Overlay and navigate through layers
Recenter the map
Search map objects on the current layer
View inventory levels
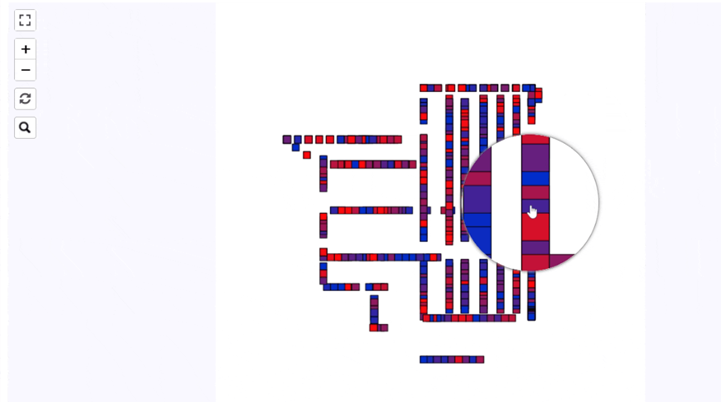
Zooming In and Out the Map#
To zoom in on the map, click the ‘+’ button.
To zoom out the map, click the ‘-’ button.

When you hover over a small map object, a magnifying circle will appear and automatically follow your mouse movement.
Switching Between Layers#
Hover over the layers
 icon. A panel opens and is divided into two sections: the Active Layers and the Overlay Layers.
Under Active Layers, select the desired layer. The map is now at the layer you’ve just selected.
Overlaying the Map with Layers#
Hover over the layers icon. A panel opens and is divided into two sections: the Active Layers and the Overlay Layers.
Under Overlay Layers, select the desired layers.

Removing the Map Image#
If you’ve added a map image when adding the map, you can remove it by doing the following steps:
Hover over the layers icon
.Clear the ‘Template’ checkbox.
Click ‘Save’. The background image is removed from the map.
Re-centering the Map#
Click the ‘Reset View’  button. The map recenters itself to its default position.
Searching Map Objects on the Current Layer#
Go to the desired layer where the map object is located: - Hover over the layers icon
.
- Under Active Layers, select the desired layer.Click the ‘Search’
 button.
Enter the map object’s property value. Matching results are listed.
Select one of the results. The map recenters on the matching map object.
Viewing Location Levels#
When you’re in the layer set as the location, you can view a specific level of that layer on the map. To do so, click the desired number.
Map Grid Size and Snap Tools#
To open the map’s grid size and snap tools, hover over the grid icon  .
.
The following panel appears:
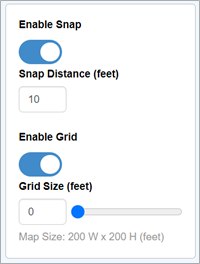
With this panel, you can do the following actions:
Action |
Steps |
Demo |
|---|---|---|
Create a grid on the map. |
Turn on the ‘Enable Grid’ toggle. Specify the Grid Size either by entering it, or by moving the slider. |
|
Set preferences to perfectly align a map object with another map object’s outline. |
Turn on the ‘Enable Snap’ toggle. Under ‘Snap Distance’, enter the distance at which dragged map objects will automatically align with adjacent map objects. |
|

You’ve set up your Snap Distance preferences. Drag map objects on the map to their desired proximity and they will automatically align with adjacent objects’ outline.
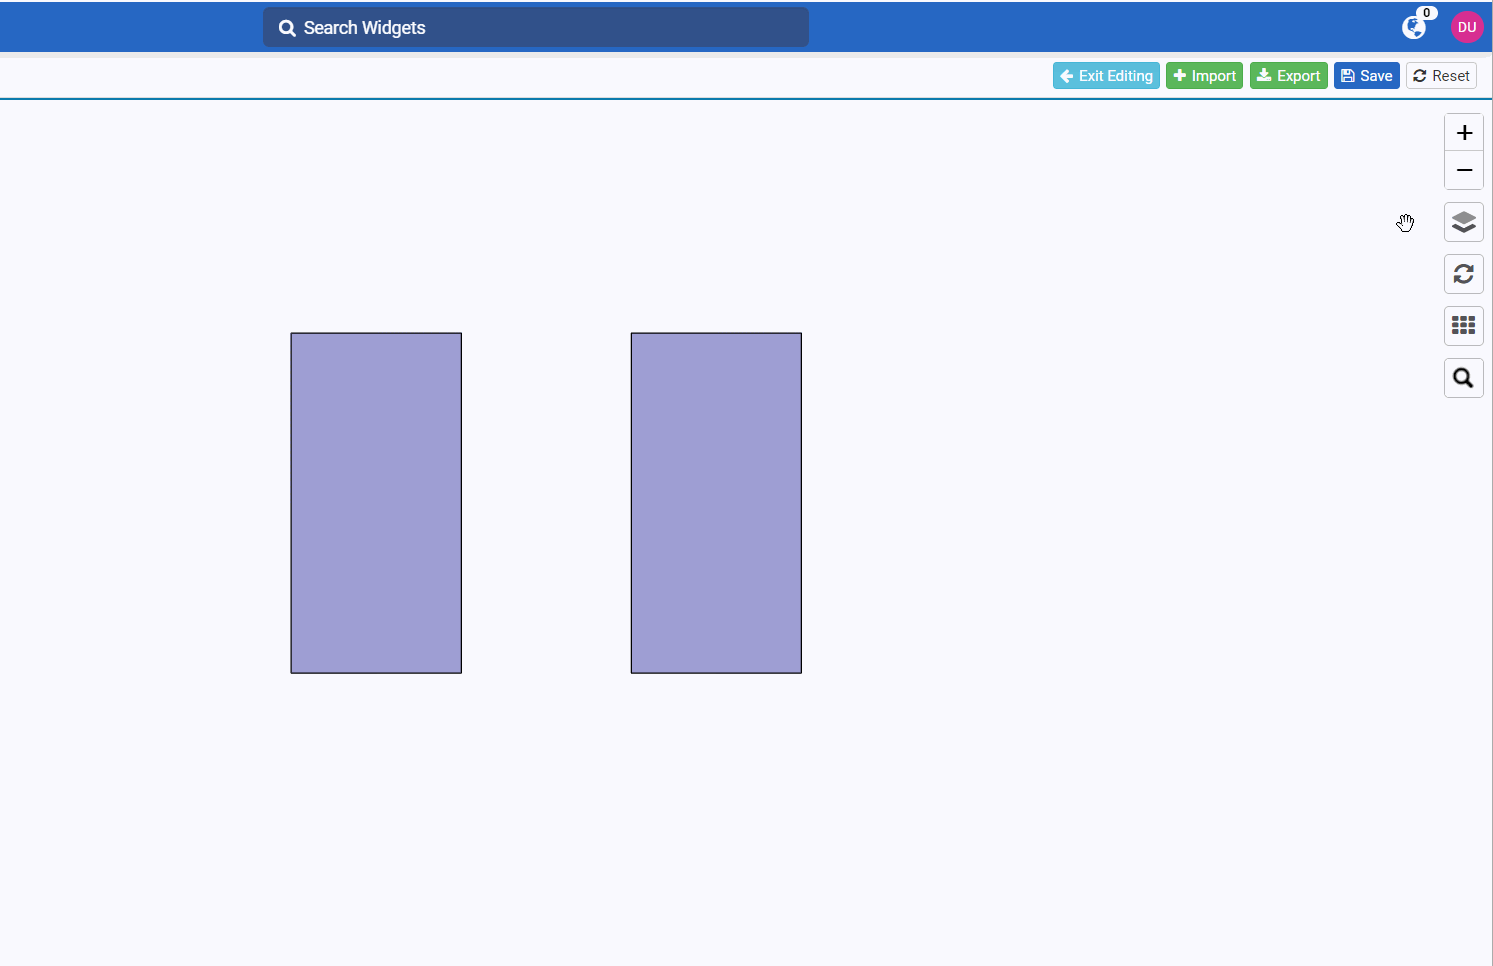
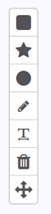
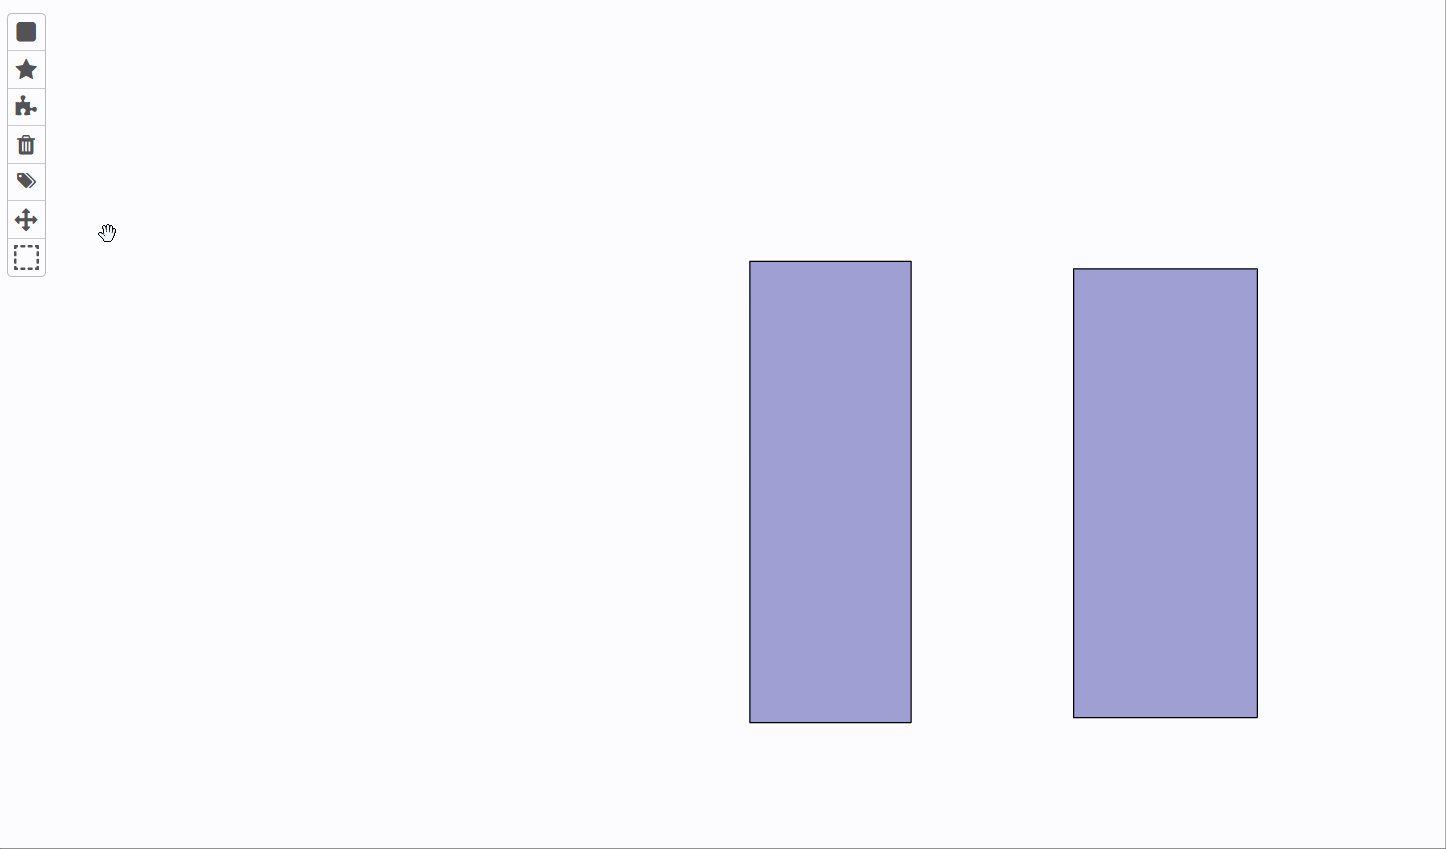
Map Editing Toolbar#
On the left-hand side of the map, the map editing toolbar lets you do different actions. The toolbar and actions differ when you’re designing a layer versus the warehouse layout. The table below shows the toolbar used according to what you’re designing.
What You’re Designing |
The Toolbar |
Actions |
|---|---|---|
Layer |
|
|
Warehouse Layout |
|
|
Adding Components to the Map#
Adding Text on the Map#
Click the ‘Add Text’
 button.
Click a position on the map.
Enter the ‘Font Size’ and the ‘Text’.
Click ‘OK’.
Deleting Multiple Objects#
Click the ‘Delete’
 button.
Click the desired object(s) to delete.
When you’re done deleting map objects, click the ‘Grab to move map’
 button.
Drawing Circles#
Click the ‘Draw circles’  button.
Click a position on the map.
Move through the map to draw the circle.
When you’re done drawing the desired circle(s), click the ‘Grab to move map’ button.
Drawing Lines#
You can draw one or more lines to form a shape that represents a room or area of the warehouse (i.e., break room, docking area, loading area, receiving room, etc.).
Click the ‘Draw lines’
 button. Three buttons appear:
To draw lines, follow these steps:
Click a position on the map to create the line’s starting point.
Move through the map to the next desired position and then click that position.
Do one of the following: - Click the same position to draw one line. - Repeat step b until you need to close the shape you’re drawing.
When you’re done drawing the desired line(s), click the ‘Grab to move map’
button.
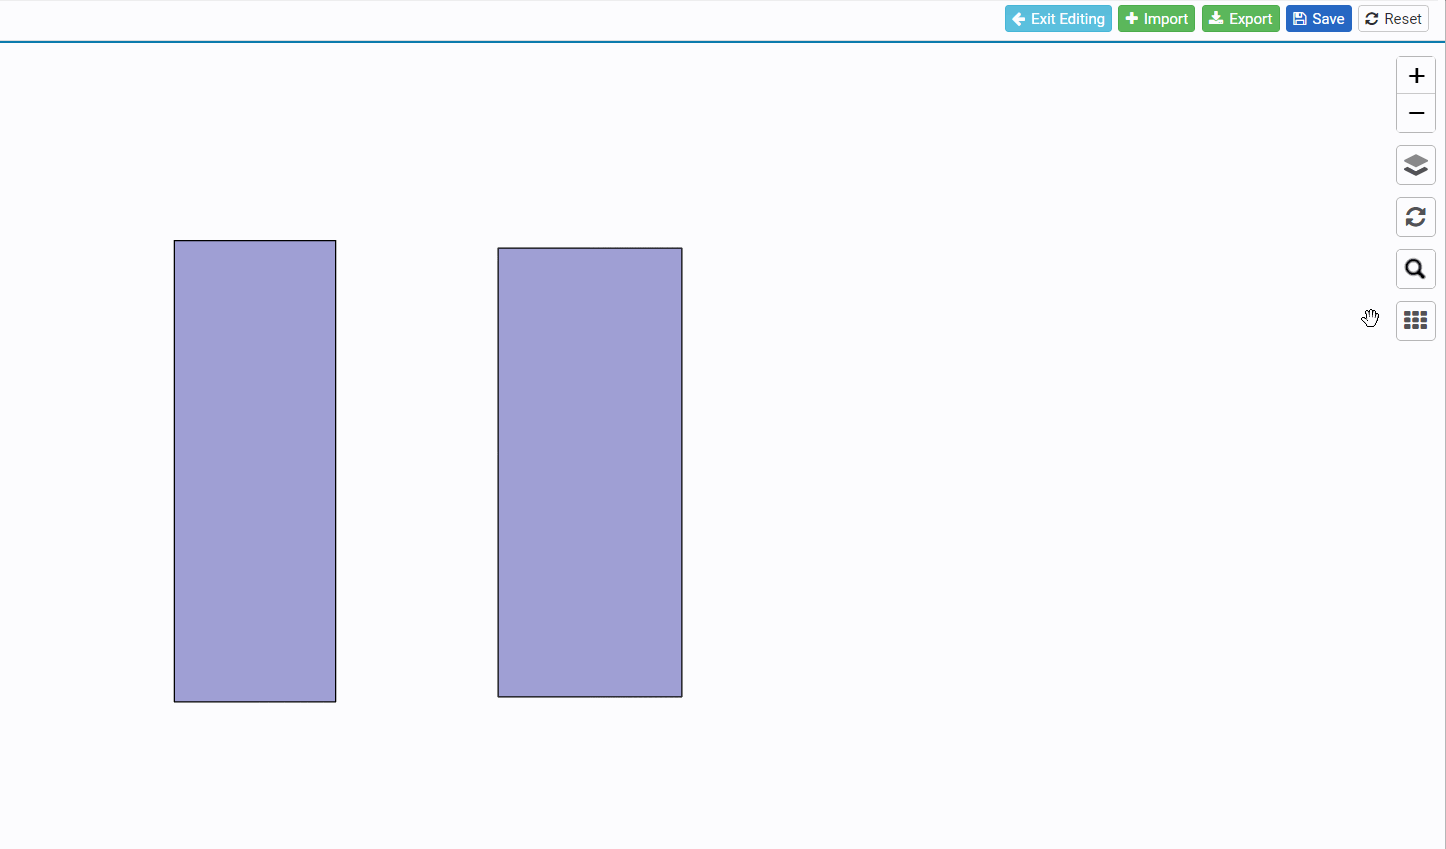
Drawing Rectangles#
Click ‘Draw rectangle’
 button.
Click a position on the map.
Move through the map to form the rectangle.
Click the desired position on the map.
When you’re done drawing the desired rectangles(s), click the ‘Grab to move map’
button.
Drawing Polygons#
1.Click the ‘Draw polygon’  button. Three buttons are displayed:
To draw a polygon, follow these steps:
Click a position on the map to create the polygon’s starting point.
Move through the map to the next desired position and then click that position to create the next corner of the polygon.
Repeat step b until you need to close the polygon to get the desired shape.
To close the polygon, move to the first corner of the polygon, and click the corner.
When you’re done drawing the desired line(s), click the ‘Grab to move map’
button.

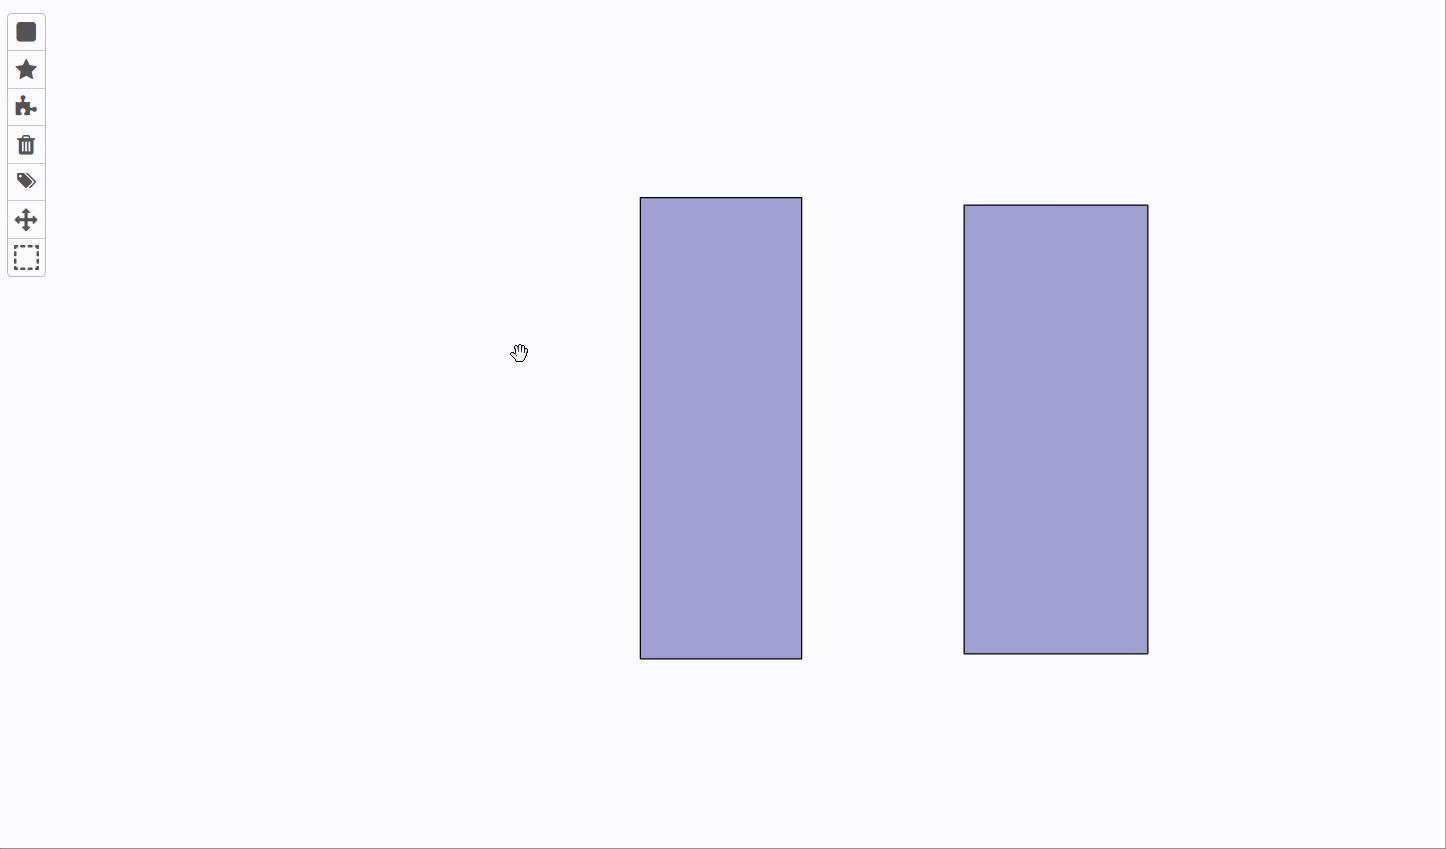
Moving the Map#
Click the ‘Grab to move map’ button to move the map around.

Moving Multiple Map Objects#
Click and drag your mouse to draw a rectangle over multiple map objects. Click to drag the rectangle and its contained objects to a new location. Click outside the rectangle to deselect objects.
Assigning or Reassigning Values to Simple Properties#
Map Object Editing Toolbar#
When you select an object on the map, different actions are available to edit an object.
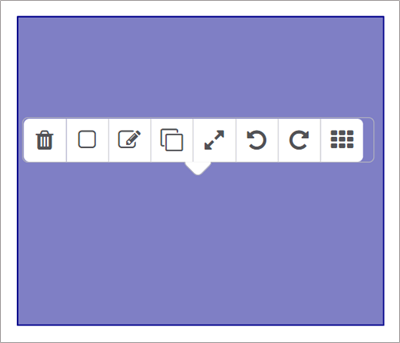
The listed actions correspond to the buttons on the toolbar, in left-to-right order.
Delete the selected object
Edit the map object’s shape
Change the coordinates of the map object’s corners
Duplicate the object and its children
Rotate or resize objects
Rotate objects by 45 degrees
Create child objects from the parent object
Viewing the object’s children
Deleting Selected Objects#
Click the desired object to delete.
Click the ‘Delete’
button.
Editing the Map Object’s Shape#
Click the ‘Edit Object Outline’ button and drag the points on the corners and sides of the shape’s outline to the desired positions.
Changing the Coordinates of a Map Object’s Corners#
The goal of changing the coordinates of the object’s corners is different according to the map object on the map:
If you drew a map object directly from the Edit Map tab, you change its corner’s coordinates to edit its shape.
If you added a component to the map, you change its coordinates to move it to its appropriate position on the map.
Follow these steps:
Click the ‘Edit object corners’
 button. The Edit Object Corners form appears. The form displays each shape’s corner with their X and Y coordinate values and a preview of the object’s shape.
Follow the steps accordingly:
You drew a map object directly from the Edit Map tab |
You added a component to the map |
|---|---|
Enter the new coordinate values. The shape in the Preview adjusts according to the new coordinates. |
Enter the desired value for any corner’s X and/or Y coordinate. The remaining X and/or Y coordinates adjust automatically. |
Enter the new coordinate values. The shape in the Preview adjusts according to the new coordinates.
Enter the desired value for any corner’s X and/or Y coordinate. The remaining X and/or Y coordinates adjust automatically.
When you’re done changing the coordinates’ values, click ‘Done’.
Duplicating an Object and Its Children#
You can create a copy of the selected object and any children it has.
Click the desired object to copy.
Click the ‘Duplicate object and children’
 button.
Drag the new object to the desired position on the map. The following information gets copied: - Map object properties without values - Shape and size of parent and children objects

Resizing, Rotating, and Moving a Map Object#
Click the ‘Rotate or resize’  button. You can do the following actions:
Resize the object’s shape — Drag the sizing handles on the corners of the shape outline until the shape is the desired size.
Rotate the object — Drag the top handle in circular motion until the object is in the desired position.
Move the object to a new position on the map

Rotating Objects by 45 Degrees#
Click the desired object to rotate.
Do one of the following:
To rotate counterclockwise, click the ‘Rotate counterclockwise 45 degrees’
 button
To rotate clockwise, click the ‘Rotate clockwise 45 degrees’
 button.
Creating Child Objects from the Parent Object#
See create child objects from the parent object.
Viewing a Parent’s Child Objects#
After creating child object from the parent object, you can view the latter’s child objects. To do so, click the ‘Go to children’  button. The map highlights the child objects. To remove this highlight and see other child objects, click anywhere on the map.
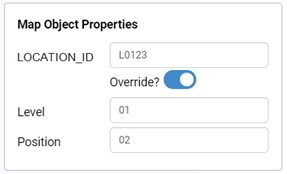
Map Object Properties Panel#
After you select a map object, the properties panel appears in the lower left corner.
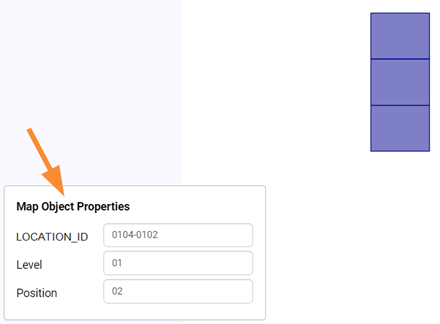
In a properties panel, you can:
See either:
A simple property
A simple property and a composite property, or
An automated property.
Enter and edit values of simple properties.
Enter and edit values of composite properties. Usually, a composite property’s value is automatically populated by its simple properties. However, you can override it with a value that deviates from the usual naming convention. To do so, from the composite property’s textbox, enter its value. The ‘Override?’ toggle appears. You can turn it off if you want the value to be populated automatically.
See the ID value for the selected map object.